What is topi Elements?
topi Elements is a first-party JavaScript library for adding topi to your online store. It gives you custom HTML elements you embed in your storefront to show rental prices and a checkout button, so you do not have to build that UI against the API yourself.
How it's built
topi Elements is a UI library that wraps the topi API. It is opinionated, in the same spirit as Bootstrap or Material UI.
Two things shape the design:
- It gives you a declarative developer experience. You pass data to the elements rather than constructing API requests by hand.
- It uses the vocabulary of e-commerce, not topi's rental domain. The element names map to the e-commerce flow (PLP, PDP, cart, checkout).
Found something that could work better? Send your feedback through your topi point of contact.
Overview of available elements
| Element name | What it looks like rendered on the page |
|---|---|
| Checkout Button | 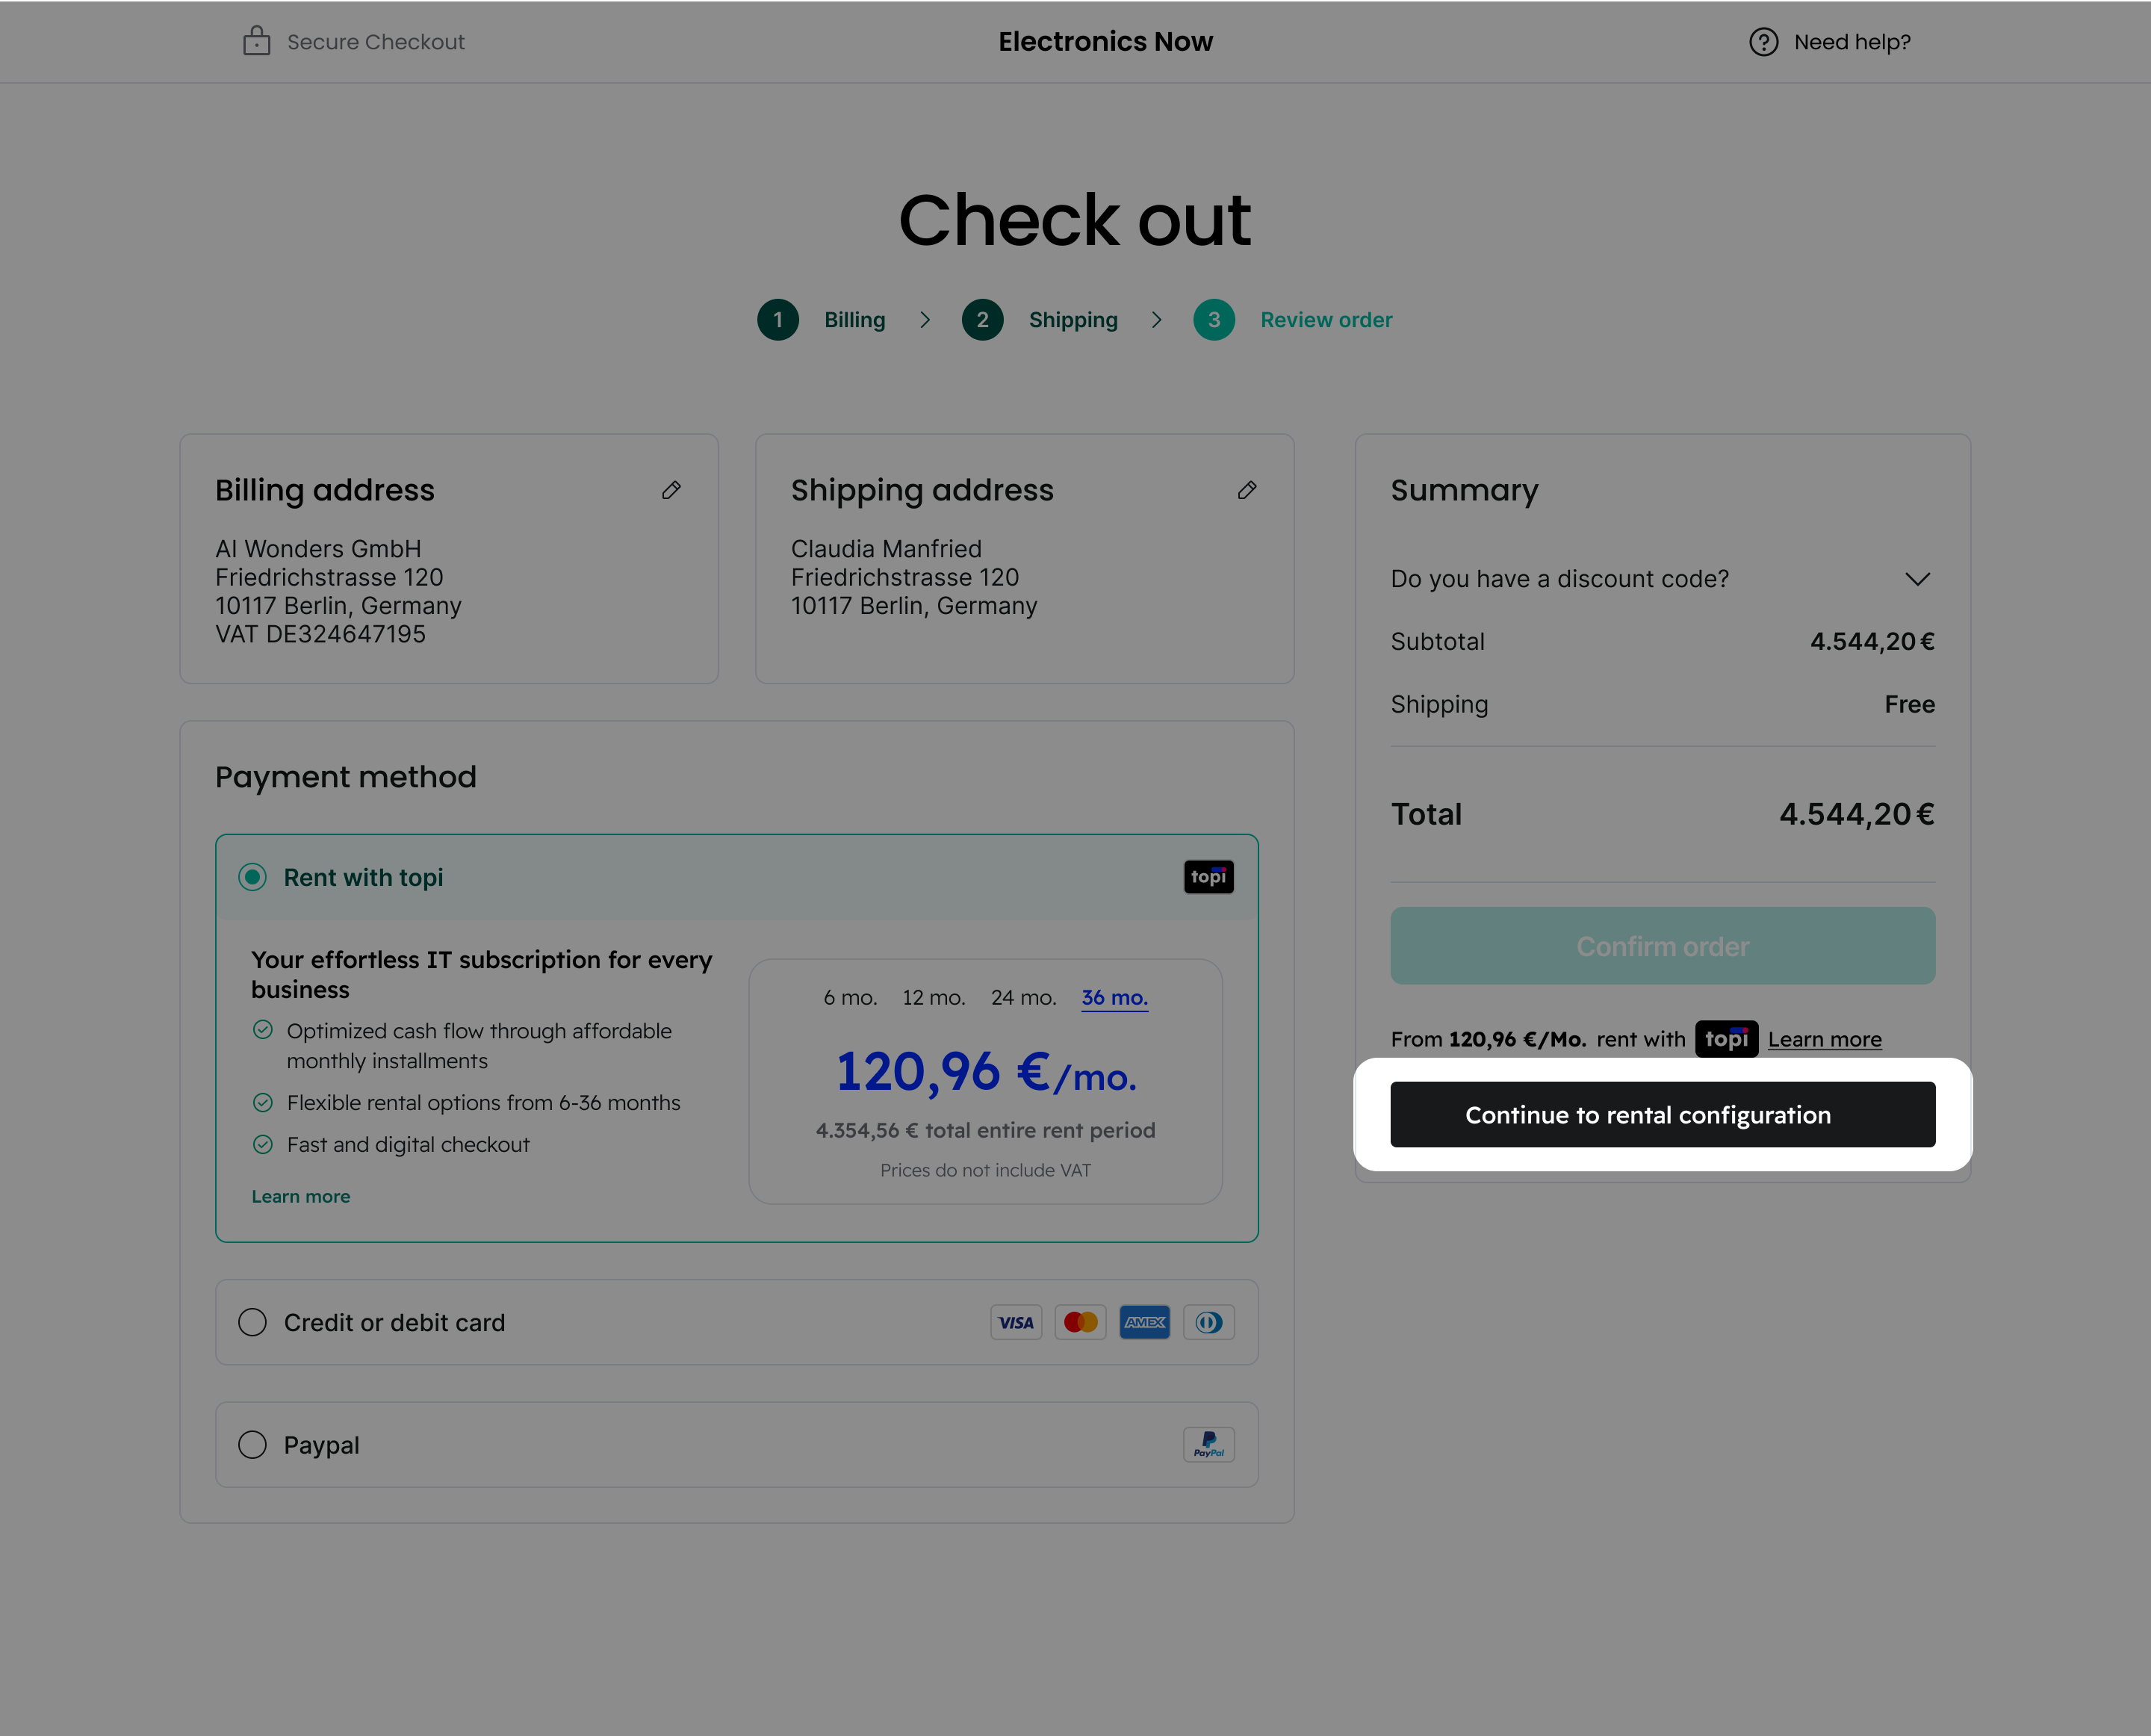 |
| Rental Summary Label | 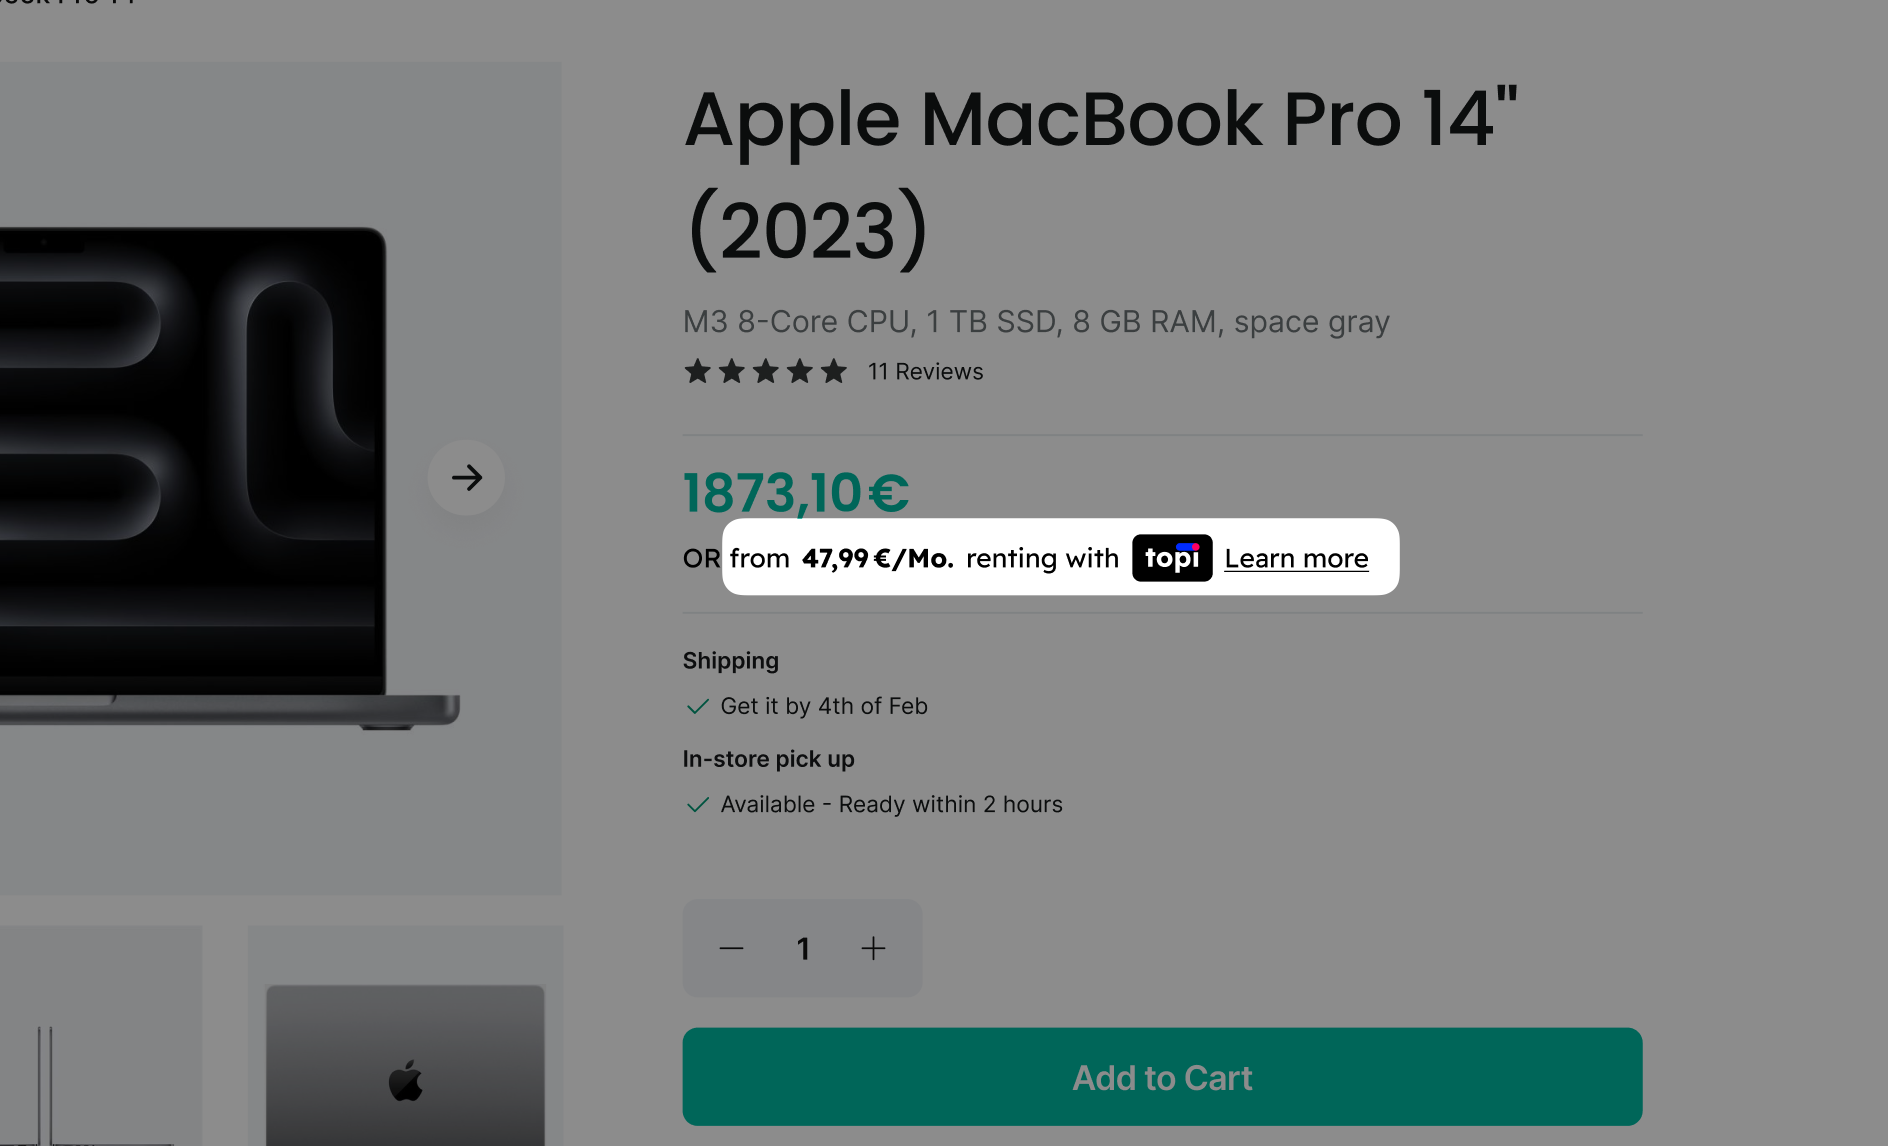 |
| Rental Overview | 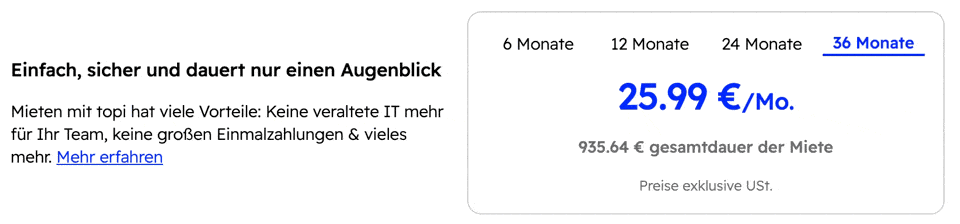 |
| Learn More Info | 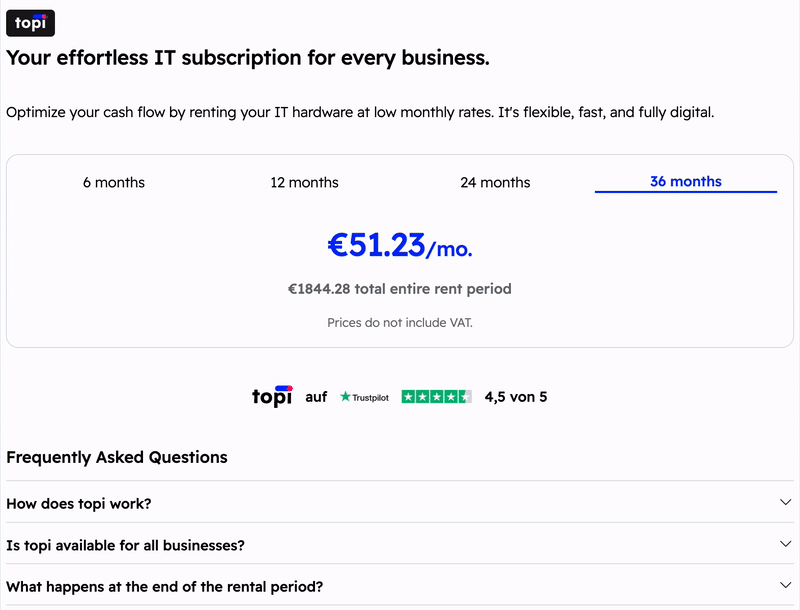 |
Simple HTML example
Placed on the same page, the markup looks like regular HTML:
<body>
  <x-topi-checkout-button></x-topi-checkout-button>

  <x-topi-rental-summary-label reference="foo"></x-topi-rental-summary-label>
  <x-topi-rental-summary-label></x-topi-rental-summary-label>

  <x-topi-rental-overview></x-topi-rental-overview>
</body>
Each element has attributes you can customize, and there are configurations you set on the top-level instance. The rest of this guide covers them.
Next, you'll add a topi Checkout Button to your site step by step.